Why HDR screenshots can look flat before you share them
A screenshot can look unlike the HDR video you watched when display mode, connection, operating system handling and the final viewing conditions are not aligned.
 By
Marcus Delaney
By
Marcus Delaney
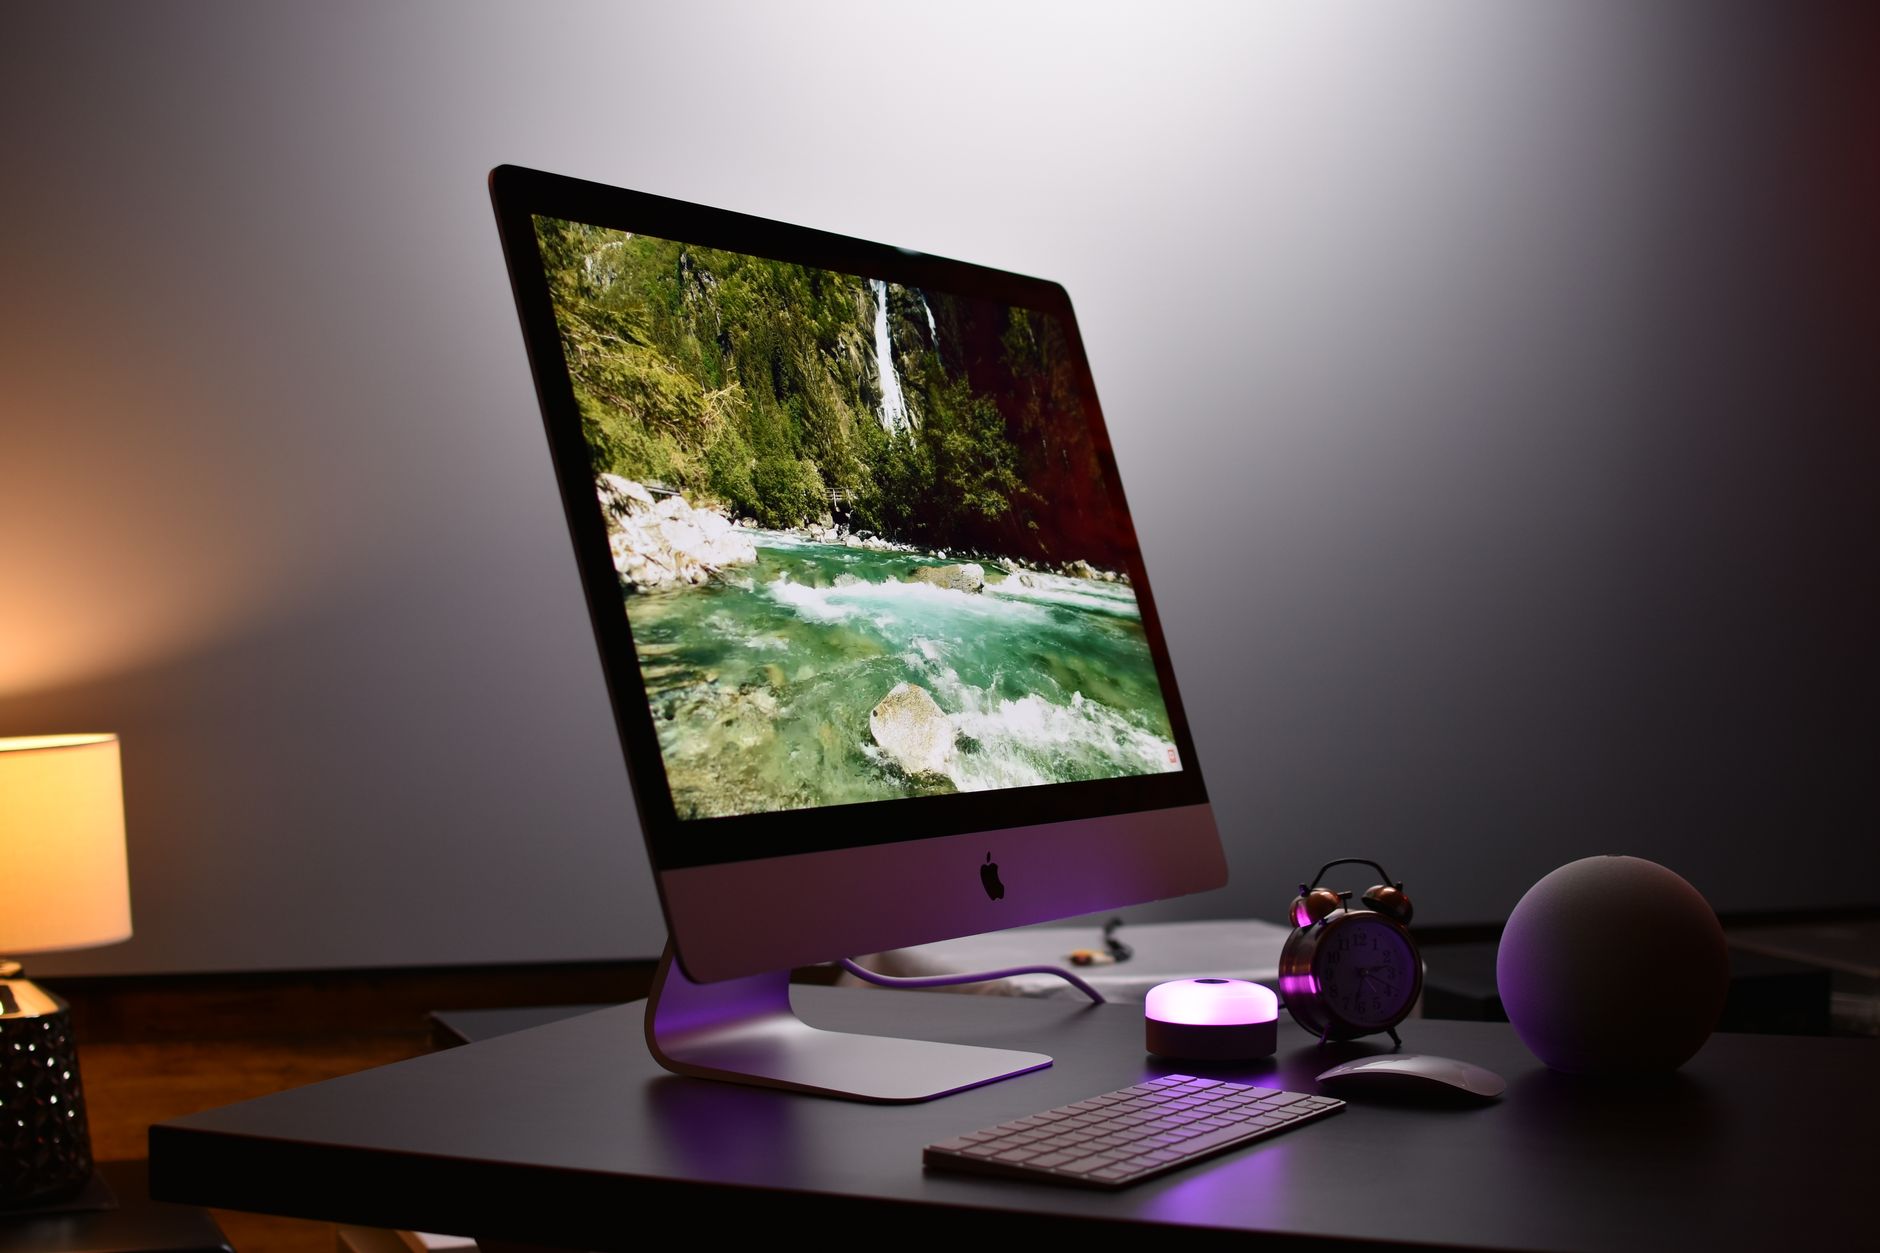
An HDR image can look less convincing after capture than the video or scene that appeared on screen. Before changing the image itself, check whether the display path was actually operating in HDR. Apple’s guidance shows how many conditions can affect that answer on a Mac, from the display’s HDR10 support to its selected input, cable, adapter and settings. Microsoft’s documentation explains why HDR also depends on how a system preserves and converts colour information.
In brief
- Apple lists a compatible Mac, current macOS and an HDR10 display among the conditions for HDR video playback.
- External HDR setups should be checked for display settings, supported cables, adapters, inputs and intermediary devices.
- Microsoft explains that HDR handling involves dynamic range, colour gamut, bit depth and conversion for a target display.
The useful first step is not to guess at brightness or saturation. It is to separate the question of playback from the question of display configuration. GeekCosmos readers can find related explainers in the technology guides section.
Make sure the display path is capable of HDR
Apple says HDR video on a Mac requires a recent macOS version, a compatible Mac and an HDR10 compatible display, television or projector. For an external display, HDR may need to be activated in the Monitors settings. Apple says the extended dynamic range option appears only for third party displays that support HDR10.
That means the screen is not a passive final step. A display may support HDR10 but still need its own HDR setting enabled or configured to prefer HDR when available. Apple also advises checking that the display is using the manufacturer’s latest firmware. These are concrete checks worth making before treating a flat result as a problem with a captured image.
The connection can matter as well. For HDMI use, Apple says that both cable and adapter should support HDR10. It notes that some televisions accept HDR on a particular input only, and recommends consulting the television documentation for the exact input. A display chain that passes through an AV receiver, soundbar or other device adds another component that must support HDR10. Apple suggests a direct connection from the Mac to the display as a test.
These checks do not establish that a screenshot file will preserve every aspect of HDR. They establish something more basic: whether the original viewing setup had the required conditions for HDR playback. If the display path is not configured for HDR, correcting a later image cannot recreate the viewing mode that was absent.
Battery settings can change the playback mode
Apple documents a setting called “Optimise video streaming while on battery” that can play HDR video as SDR when a Mac is running on battery power. The company’s guidance says to connect the Mac to power or disable that setting when HDR playback is required. A file can therefore be judged differently if the original content was viewed under a power-saving setting.
Viewing conditions also influence the experience. Apple says HDR video brightness and colour can vary according to the Mac model and ambient light, and that a dark room improves HDR’s visual effect. This is a reminder that the screen result is not perceived in isolation. A capture reviewed in a different room or on a different display may not carry the same visual impression.
Apple additionally notes that some Intel Mac models can play HDR content at resolutions no higher than 1080p, depending on the content and display. That is another reason to document the device and display conditions when comparing one result with another, rather than treating “HDR” as a single identical state across every setup.
HDR requires more than a bright display
Microsoft’s Advanced Color documentation describes HDR as part of a wider group of technologies that includes wide colour gamut and higher bit depth. It defines dynamic range as the difference between a scene’s minimum and maximum luminance. A conventional SDR display has a limited range, so HDR content rendered for it must be tone mapped, or compressed, into that range.
That compression is relevant whenever HDR material is viewed on a more limited display path. Microsoft explains that newer HDR displays can exceed the range of typical SDR displays, while consumer screens still vary in the colours they can reproduce. Colour gamut describes the extent and saturation of hues a display can show. A system can preserve colour information more effectively only when its components and operating mode support it.
Microsoft also explains that numerical precision, often described as bit depth, affects the ability to distinguish similar colours without visible banding. In Windows Advanced Color mode, the Desktop Window Manager composes using half precision floating point. The documentation says this removes earlier bottlenecks and allows use of the display’s available precision.
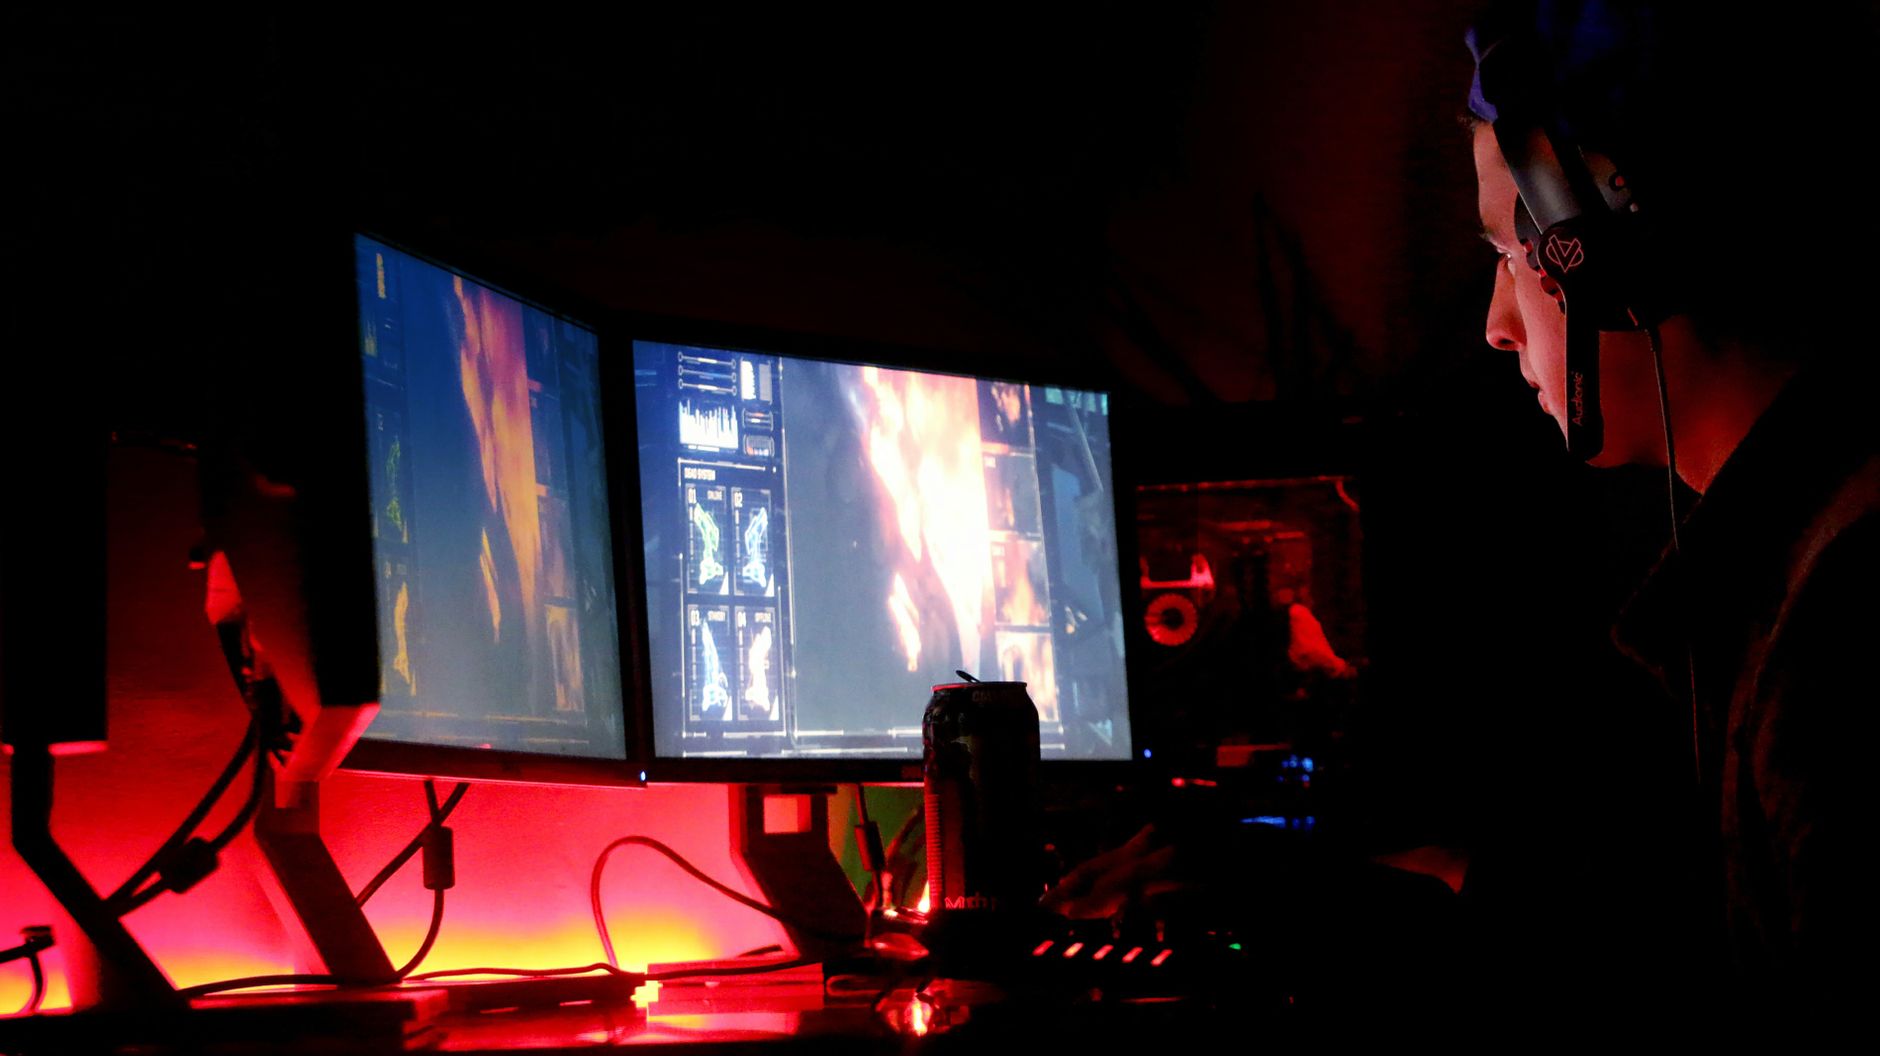
The wider point is that a vivid HDR result is not created by one setting alone. The display signal, operating system composition, available colour range and precision all influence how content reaches the screen. A screenshot that appears muted may deserve a configuration check before any visual adjustment is made.
Why conversion changes the result
Microsoft says that colour management aims for accurate and consistent colour reproduction across devices. It describes how Windows converts application content from its native colour space into a canonical composition space in HDR mode, then converts the system frame buffer to the colour space used for the display signal. Colours outside the target display gamut can be clipped numerically during these operations.
That detail helps explain why an HDR image is not guaranteed to look the same everywhere. A display that cannot reproduce a particular range needs the content adapted to its limits. Apple makes a related practical point when it says HDR video is generally better on HDR displays with high brightness and strong contrast, because they offer a wider dynamic range.
For an image intended to be shared, identify the destination before deciding how to assess it. Is it being viewed on the original HDR screen, on another HDR display, or on an SDR screen? Microsoft’s description of tone mapping makes clear that mapping HDR into a narrower range is a transformation, not simply a cosmetic change. The aim is to fit content to the available display range.
A focused review routine
- Confirm that the Mac, operating system and display meet Apple’s stated HDR requirements.
- Check that HDR is enabled in the external display’s Monitors settings where applicable.
- Inspect the HDMI cable, adapter and selected television input when HDMI is used.
- Test a direct display connection if a receiver or soundbar is in the video path.
- Check whether battery video optimisation has changed HDR playback to SDR.
- Review the image on a display whose HDR state and viewing conditions are known.
- Remember that tone mapping fits HDR content into the limits of a target display.
Apple’s HDR playback guidance for Mac is especially useful for the physical setup checks. Microsoft provides the technical context: HDR, colour gamut and bit depth are handled through a system pipeline rather than as a single property of a file.
This guide is limited to the supplied Apple and Microsoft documentation. It does not prescribe a particular capture format, editing application or export workflow.
Featured image. Source: Pexels. Credit: Avinash Kumar. License: Pexels License.